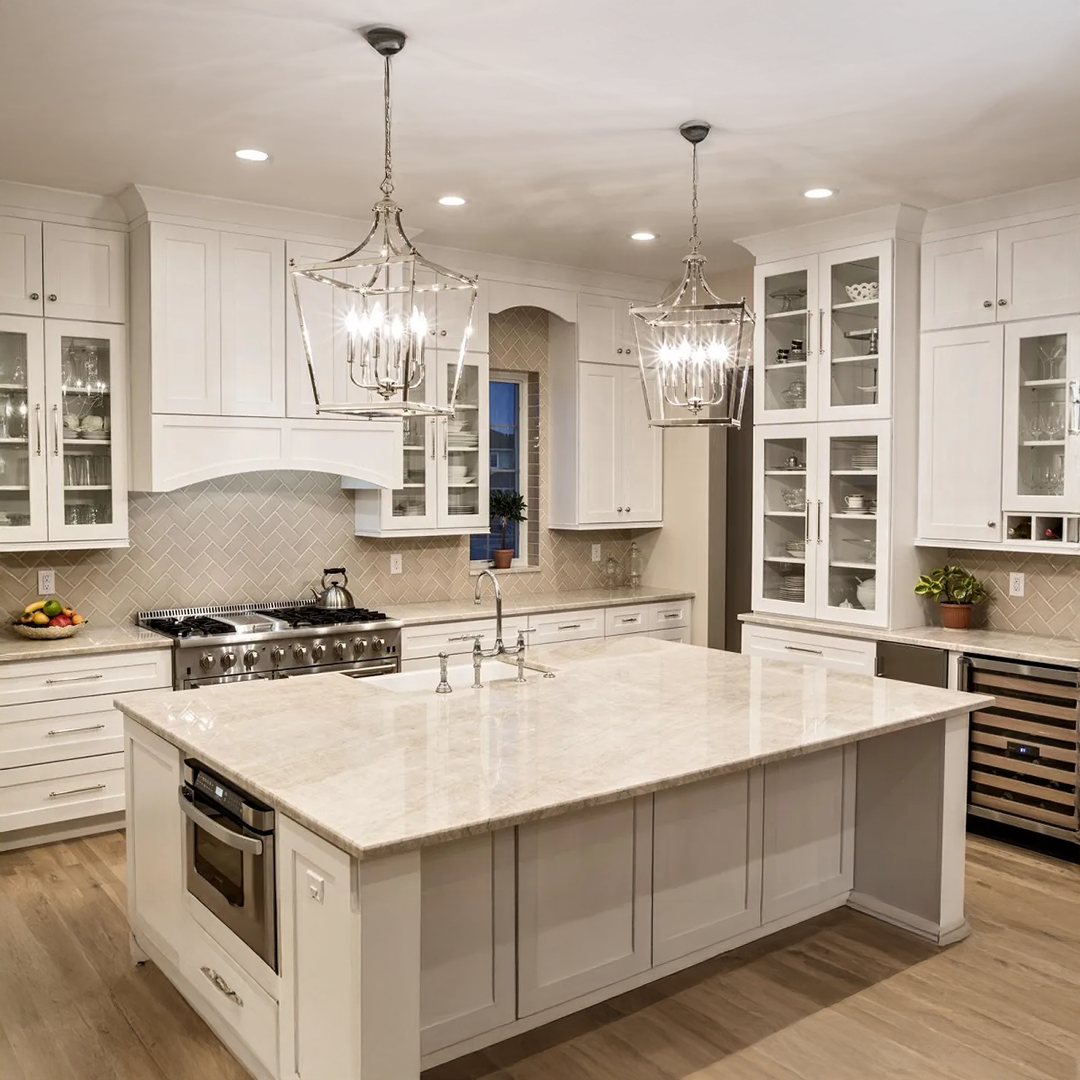

NaturaStone builds mitered edge countertops Orlando homeowners can’t tell were ever two pieces of stone. What appears to be cut from a single, large stone block is actually two pieces cut to the same angle and joined together to form the desired shape. The material itself isn’t what determines quality; the fabricator matters more than the material for any countertop in the Orlando area. Every time NaturaStone makes a mitered join, it is created in exactly the same meticulous manner.
In This Article
- What Is a Mitered Edge, and Why It Matters
- What a Poorly Fabricated Miter Join Looks Like
- Templating and Cutting for a Tight Fit
- The Glue Up: Vein Matching and Color Matched Epoxy
- Polishing the Seam Until It Disappears
- Where This Skill Matters Most
- What to Ask a Fabricator Before You Commit
- Frequently Asked Questions
What Is a Mitered Edge, and Why It Matters

A mitered edge is a specific type of edge that is cut at a 45-degree angle.
To form a mitered edge, two blocks of stone are cut at the same 45-degree angle and then combined into one thick stone edge, creating a continuous edge to the stone. It’s the way two of today’s most popular stone looks are achieved.
- Waterfall edges, which give the impression the counter material cascades down the side of an island until it reaches the floor
- A furniture-style edge profile with a heavier profile (standard 3cm slab but mitered to appear to be a full 6cm slab)
Both effects are totally dependent on the quality of the joint. If done correctly, a mitered edge will be invisible. If not done correctly, it’s the first thing people will notice about a gorgeous kitchen.
What a Poorly Fabricated Miter Join Looks Like
Knowing what to look for makes it easier to tell a well-fabricated miter from a poor one, since the difference is not always obvious in a showroom sample. The following are characteristics of hurried or sloppy mitering:
- A perimeter line around the corner, even in “normal” kitchen lighting conditions.
- Stopped veining or pattern; ends in one spot rather than extends across the joint.
- Mismatches in either step or height at the interface between two parts
- A glue line that discolors, darkens, or shows through with the passage of time.
All of these are fabrication-related and not material-related. Any material, quartzite or marble included, can show these effects if the templating, cutting, and joining aren’t done correctly.
Templating and Cutting for a Tight Fit
The precision of the cut, not the glue, is what creates a seamless miter. The NaturaStone team is able to cut both pieces in the exact same setup and on the same equipment, because they take into consideration the exact angle, thickness, and finish of slabs used for every project. It’s the fact that both sides of a miter are cut together and not apart that creates a true miter, not an “approx” miter, as the two angles are matched.
If the cut is tight and consistent in this step, then there is less epoxy required in the later step to fill the cut seam, which is one of the most important steps in the joints’ visibility.
The Glue Up: Vein Matching and Color Matched Epoxy
Prior to making any permanent connections, the two pieces are dry-fitted and adjusted; they may be flipped over, rotated, or otherwise arranged to ensure that the vein and pattern flow the best. This is particularly important as far as natural stones are concerned, as no two areas of the same slab will be the same.
After the placement is completed, bonding with a 2-part epoxy is done, and it is a color-matched epoxy adhesive, not a generic clear or white adhesive. Once the joint is clamped, no more work is done until the joint has completely cured. One of the most common mistakes made at this stage is to rush through it, which leads to an eventual poor seam that can discolor.
Polishing the Seam Until It Disappears
Once the epoxy has hardened, the seam is hand ground flush and finished to match the surface of the entire area, including any surrounding surface (polished, honed, or leathered). This is the part that makes it easy to make an invisible joint that is structurally sound. Even a strong seam that is not finished will reveal the seam when held up to the light.
Where This Skill Matters Most
Waterfall islands are the most obvious example of using mitered edges, but the same technique is used wherever a long stone edge is included in a design:
- Waterfall edge kitchen islands
- For standard thickness slabs, furniture-grade edge profiles are available.
- Custom stone fireplace surrounds, where a mitered corner gives the mantel the appearance of solid, heavy stone.
- Custom stone tables, where the edge of the mitered apron edge produces the same thick furniture table appearance.
If you are going to be using any of these, it’s important to ask the fabricator directly if he or she has any experience in mitered work, and not general stone fabrication.
What to Ask a Fabricator Before You Commit
Do you have actual pictures of seams you’ve done, not just marketing photos?
- Is it in-house or is it subcontracted?
- How long does the warranty last for the seam, as it is a separate warranty to the installation warranty?
- What determines the final price for a mitered edge or waterfall island? If you have a project already in mind, our 2026 countertop pricing guide includes information on the effect of edge profiles such as mitered and waterfall edges on the overall price.
Frequently Asked Questions
What is a mitered edge on a countertop?
A mitered stone edge is formed by cutting two pieces of stone at the same 45 angle and assembling them so that the stone edge appears as one piece of stone and not two pieces that have been cut.
Does a mitered edge cost more than a standard edge?
Yes. More material is needed, more exact cutting as well as more work is required for the glue-up and finishing work for mitered and waterfall edges compared to a standard eased edge; therefore, they are more expensive.
Will the seam be visible?
Under normal lighting, a mitered seam should not be noticeable with careful templating, placement of the veins, color-matched epoxy, and proper polishing. Seams are rarely a problem with the technique; they are usually a result of haste in fabrication.
Can any type of stone be mitered?
Typically, any natural or man-made stone can be cut into miters for use in making a countertop, such as quartzite, granite, marble, and quartz. Stones with heavier veining need more care during the vein matching process to achieve a seamless look.
How long does a mitered edge take to fabricate?
Usually the mitered/ waterfall edge will require more time to fabricate than a regular edge due to the requirement for epoxy to completely cure before polishing. This will also vary depending on the project, so it’s best to request a timeline along with your estimate.
NaturaStone has completed waterfall islands, custom fireplace surrounds, and mitered-edge tables throughout Central Florida since 2014. Contact us today to discuss a mitered edge or waterfall island for your project.
See the Natural Stone Institute for more information about standards for stone fabrication.